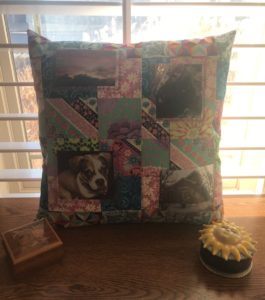
This picture pocket pillow is easy to make and really, you can do just about anything you want to create your background – do some strip piecing as shown, or crazy piecing, or even just choose a solid you love! (Instructions are downloadable below.)
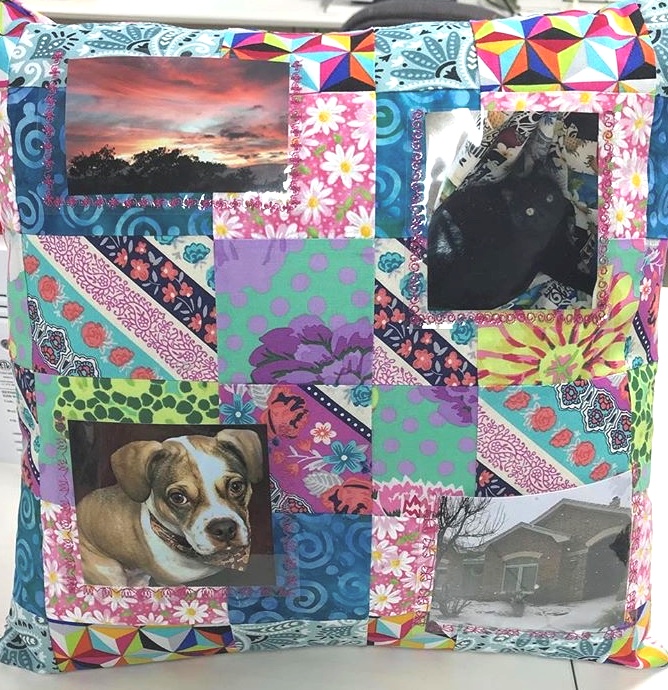
Showcase some of your favorite pictures, but easily change them up when you get new favorites! We used some fabrics from the stash with a few new ones for a cheerful spring look. But think beyond that – you’re the designer – you could change it up and make it –
- School colors
- Team fabric with coordinating colors
- Wedding themed – wedding colors or monotonal with various fabric types in the color of the wedding dress
- Match your home decor
- Colorize it to coordinate with the pictures you want to showcase
Here’s what you’ll need: (This is based on creating a 16″pillow as we did. All items with * available at Moore’s!)
- Six (6) 3-1/4″ x 17″ fabric strips (you can vary size as long as your pillow will be covered – use an even #) *
- 1/2 yd. fabric for back *
- Three (3) buttons for back closure (if desired)
- Light to midweight clear craft vinyl – 1/4 yd. should be plenty
- Thread for construction *
- Additional thread colors for decorative stitching to match pillow *
- Tape to hold vinyl pockets in place *
- Non-stick or teflon or roller foot for your machine (recommended) *
- 1/4″ foot for your machine *
- Rotary cutter *
- Cutting mat *
- 16″ pillow form (or make your own!)
- Sewing machine with some decorative stitches *
Here’s what to do :
Front:
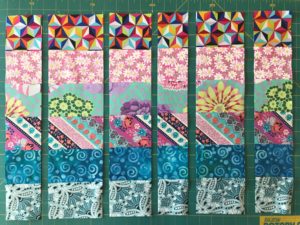
— Arrange strips as desired
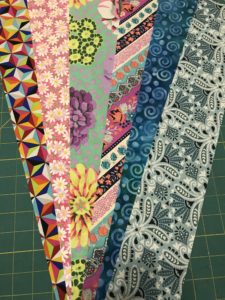
— Sew together with 1/4″ seam allowances, press
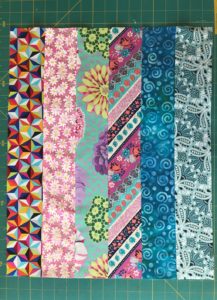
— Cut in opposite direction sewn, varying widths, to create new strips
— Rotate every other strip
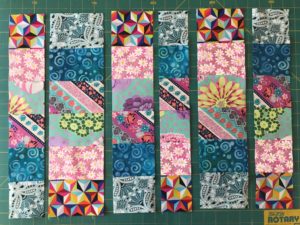
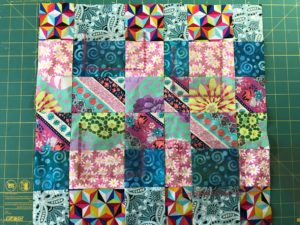
— Sew these together! Now you have your pillow front – without piecing all those little pieces!
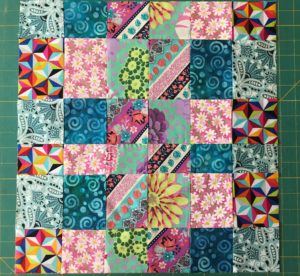
— Cut vinyl into desired sizes – this is personal taste based on pictures you’d like to use. We liked different sizes and trimmed pictures to fit. Cut some extra strips of vinyl for test sewing
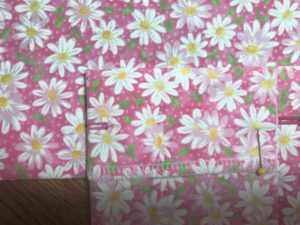
— Tape vinyl pieces in place on pieced pillow front, placed as you like! We taped with RNK (Floriani) Embroidery Perfection Tape – you can see the pink pieces of tape in picture –

— Use smaller vinyl pieces on scrap fabric to test decorative stitching. Avoid using a heavy, dense satin stitch such as scallops as it can perforate the vinyl and it can tear away. More open decorative stitching works well.
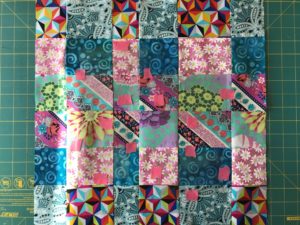
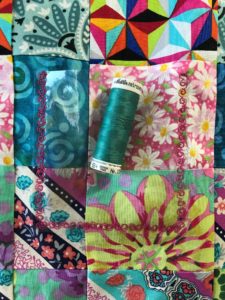
— Stitch each piece of vinyl to pillow on three sides – leave opening at top to insert picture!
Here’s a closer look – we put a spool of thread in so you can see the pocket better —
Back:
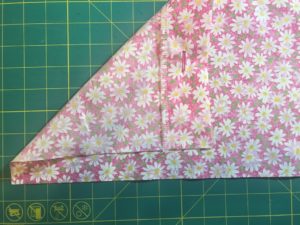
— Use your backing fabric to create two 19-1/2″ x 17″ pieces (it’s ok if the 19-1/2″ starts larger, you can cut it down later)
— Fold and press over 1-1/2″ of each piece along 17″ width. This will create the button/buttonhole facing for your pillow (or a clean opening edge if you don’t want button closure)
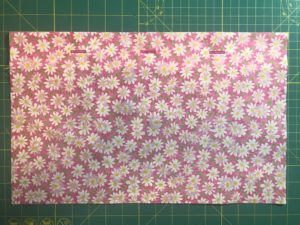
— Serge or fold over 1/4″ and edge stitch) the edge you just pressed for a neat finish (don’t have a serger or don’t know how to use it? Come see us!)
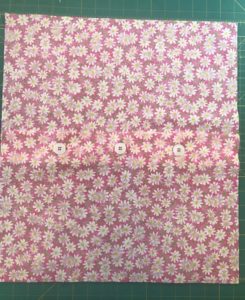
— If desired, create your button closure now. Always make test buttonholes first to check size! On one of these folded pieces, mark buttonhole placement centering buttonholes – one in center and two others placed evenly between the center buttonhole and fabric edge. We slide a scrap of tearaway stabilizer under the fabric before stitching buttonhole for good results. Open buttonhole (Tip: placing pins just inside stitching of each buttonhole helps to prevent cutting through the buttonhole! A buttonhole chisel and mini mat are excellent tools for this too!)
— Overlap the buttonhole panel with the corresponding panel on second piece of back, mark button placement. Sew on buttons – this can be done by hand or machine depending on button selected. Button it up, then baste the edges of the button/buttonhole panels together. Unbutton.
Finish:
— Place front and back right sides together, sew all four sides with 1/2″ seam.
— Turn right side out through opening in back
— Button the back
— Insert your pictures into pockets
Now show it off!