
Cutting your applique designs is super easy with the Brother ScanNCut DX models.
I own an SDX230D. The DX models read Stitch and SVG files! This means you can easily cut out all the applique pieces for your embroidery projects ahead of time. Watch my video illustrating how easy it is to digitally cut your favorite Appique Design!
Join me, Terry Maffitt, on my YouTube Channel Here or my Facebook Group, Just Stitchin with the Brother Luminaire.
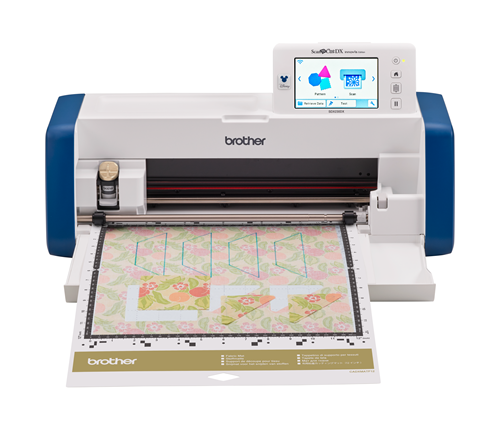
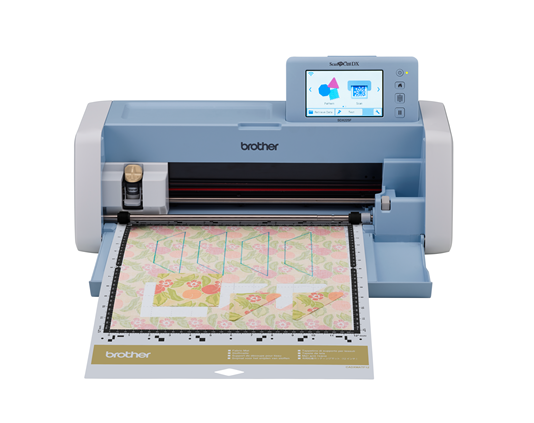
Moore’s Sewing has a Brother SCanNCut DX model with features you need. Choose from the SDX225F, SDX230D, or SDX230DX.
The ScanNCut DX models sold by Moore’s are known for amazing scanning technology, whisper quiet cutting, an AutoBlade, and the ability to read stitch files in the PES, PHX, and PHC formats. If you want to create an applique cut file from a paper pattern, you can easily scan the image using a Scanning Mat and convert the data to a cut file. The mats are available in 12″ and 24″ lengths. Depending upon the model you purchase, there are built-in designs and fonts. You can edit designs on the easily readable 5″ touch LCD screen or send the file to Brother Canvas Workspace to edit on your computer or tablet. The possibilities are endless. You can also buy additional design collections, and specialty kits such as the rhinestone kit to add bling to your projects!
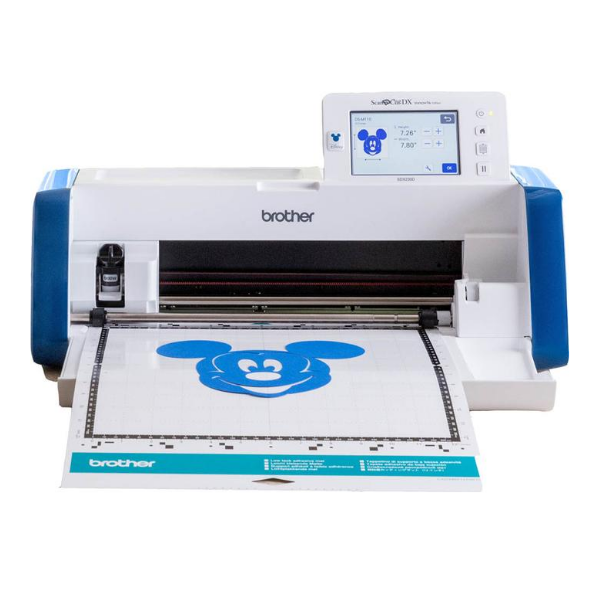
Brother Disney ScanNCut SDX230D
My Recipe for Successful Applique Cutting:
- Fabric backed by a fusible – Leave the paper on the back of the fabric and cut paper-side down with the Black AutoBlade and the Standard Mat.
- Cutting Felt- Place freezer paper on both sides, iron the paper in place and use the Black AutoBlade and the Standard Mat. The Black AutoBlade can cut materials up to 3mm in thickness.
- Applique designs without a fusible – Choose the New Fabric Mat and use the Fabric Blade. The Fabric Blade is designed to cut materials that are between 0.25mm – 0.5mm.
You can also cut out HTV vinyl for an applique. When using HTV as a substitute for fabric, mirror image the design, set the machine up for half cuts, and place the HTV vinyl-side down on the mat. Use the Black AutoBlade. Carefully remove the excess HTV. After you stitch your placement line, remove the clear vinyl and position the HTV with the glue-side down towards your background fabric.
Brother Disney ScanNCut SDX230DX
Brother ScanNCut SDX225F
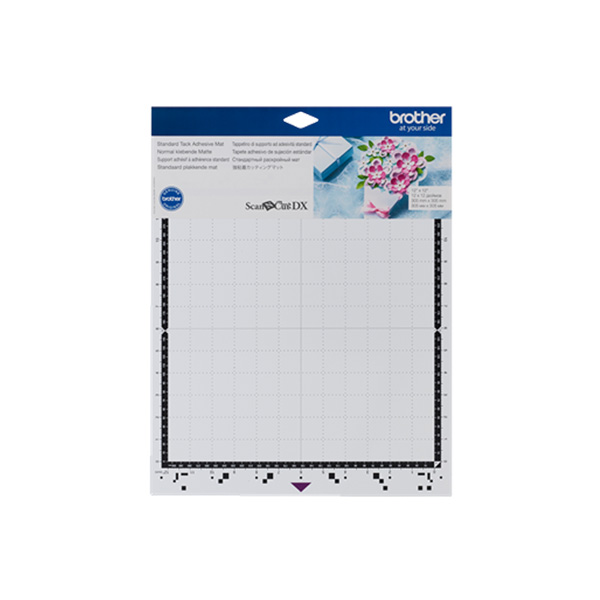
Brother ScanNCut DX 12″ Cutting Mat
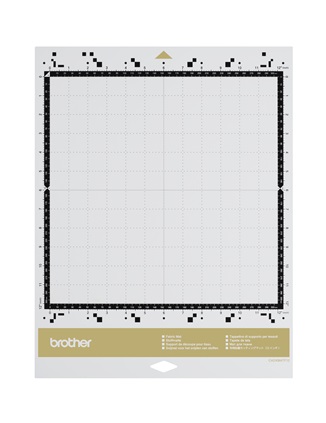
Brother ScanNCut DX Fabric Mat
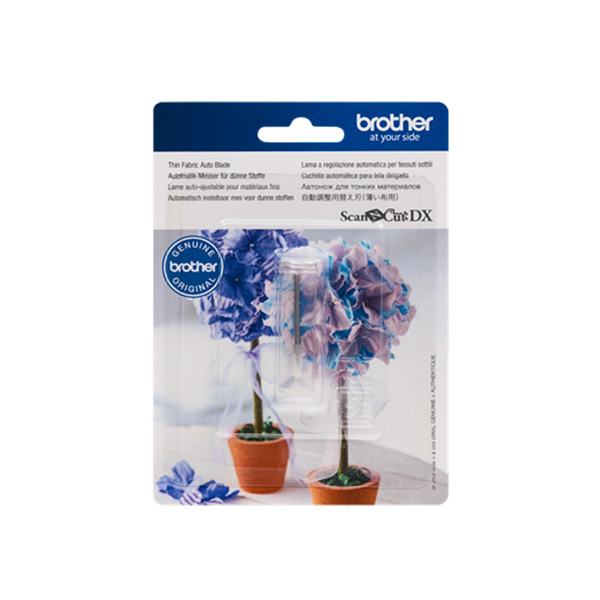
Brother ScanNCut DX Fabric AutoBlade
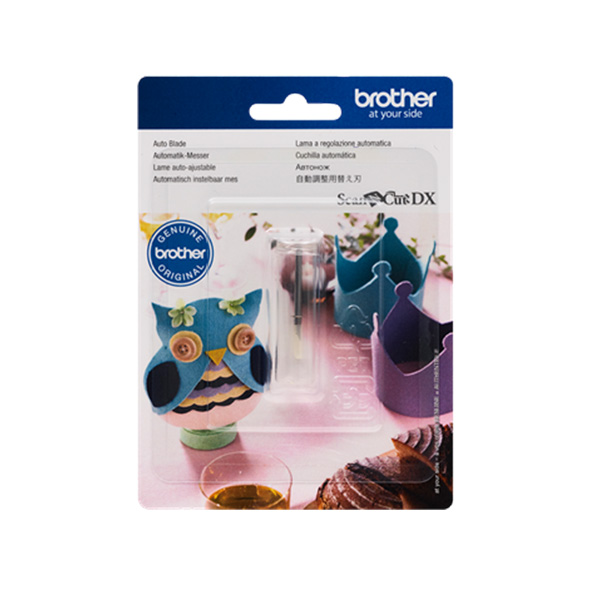
Brother ScanNCut DX Auto Blade
View our other ScanNCut products here.
Great Tutorial!